conservation
research & diagnosis
vulnerabilities
technical analysis
visual examination
artist interview
RTI analysis
XRF analysis
SEM-EDX analysis
refractive index
forms
advice & treatment

conservation

research & diagnosis

technical analysis of materials


visual examination

> naked eye
> magnification
> light
> photography
> mapping

Creating the right conditions for visually studying the characteristics and condition of glass is not straightforward. Glass is often thin and fragile, and many object shapes are difficult to position for examination. This is especially true when glass is part of a larger work or artwork or is incorporated into architecture. As a result, in many cases it is not easy to examine a glass surface with the naked eye, under magnification, or with a handheld microscope.

naked eye

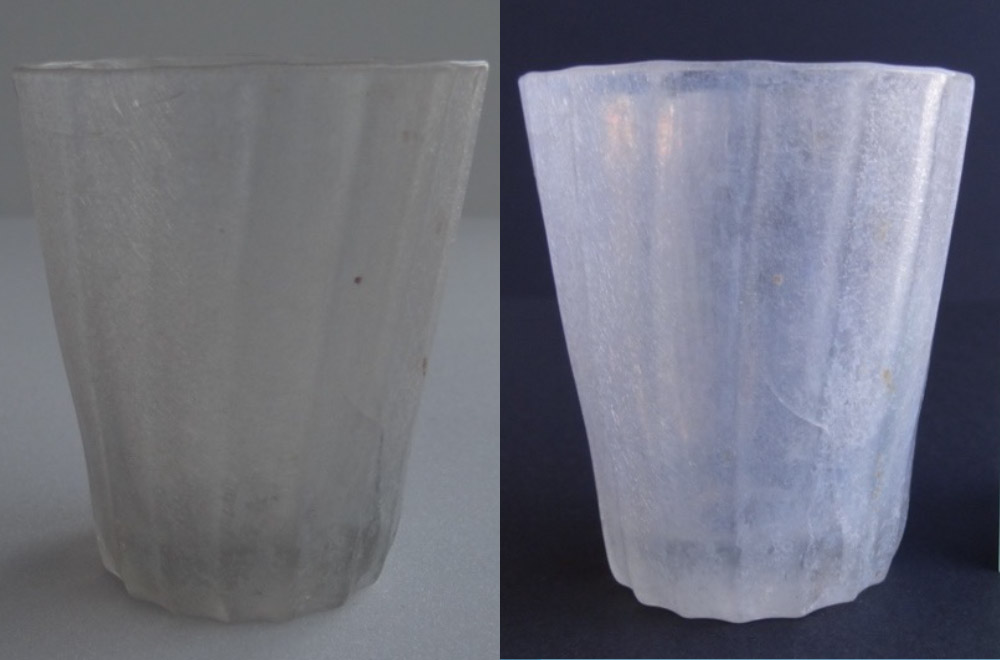
A visual examination begins with observation using the unaided eye, during which all physical characteristics are thoroughly recorded for later study and analysis. When examining transparent or translucent glass, it is advisable to view the object against both light and dark backgrounds, as these can determine whether certain physical characteristics are visible.


Setup for examining glass: daylight, a daylight lamp, and white and black backgrounds.


740 (KN&V) and F5216 (KN&V) against both black and light backgrounds. COLLECTION Museum Boijmans Van Beuningen

magnification

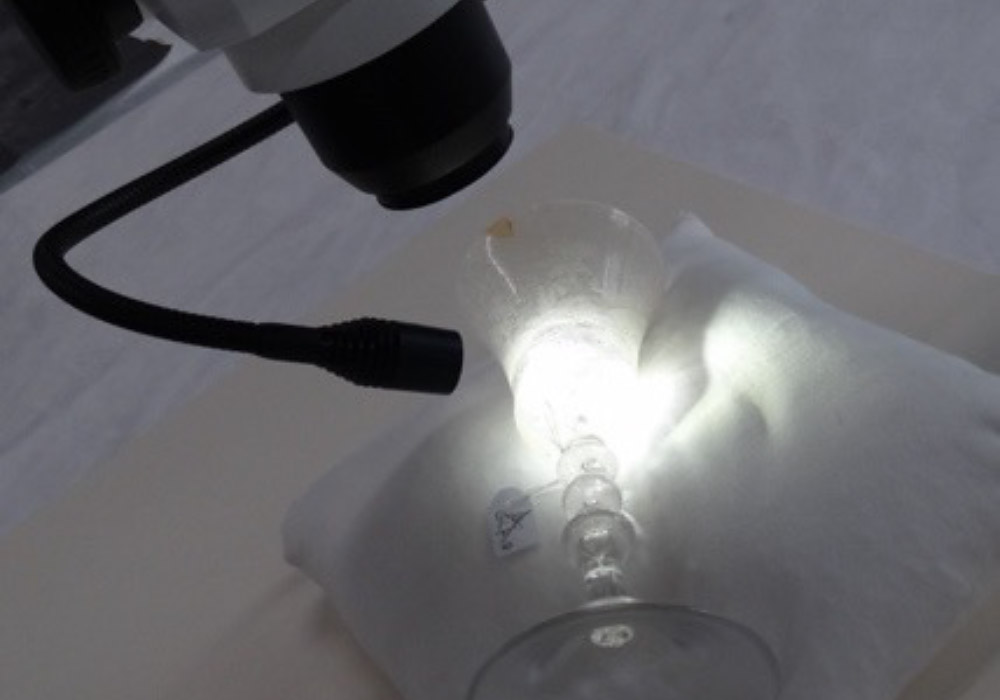
Reflections pose a problem during examination under a lamp, and glare can make characteristics difficult to identify. A polarising filter is therefore always used when examining glass under a microscope. In microscopy, it takes experience to understand how deeply one is looking into transparent glass, and the background also plays a role in the visual perception of transparent glass.

The purpose of the examination is to identify the vulnerabilities in the glass. Knowledge of physical characteristics resulting from the making process, as well as those that may have developed later in the object’s history, is important in this regard. For example, it is important to be able to distinguish a crack caused by stress during manufacture from one caused by an impact. Such aspects can be effectively documented using visual methods. For a complete overview of aspects that can be recorded during a visual examination, see the General Condition Form.


Examining a glass under a microscope. Due to the object’s fragility, care must be taken when adjusting the focus.


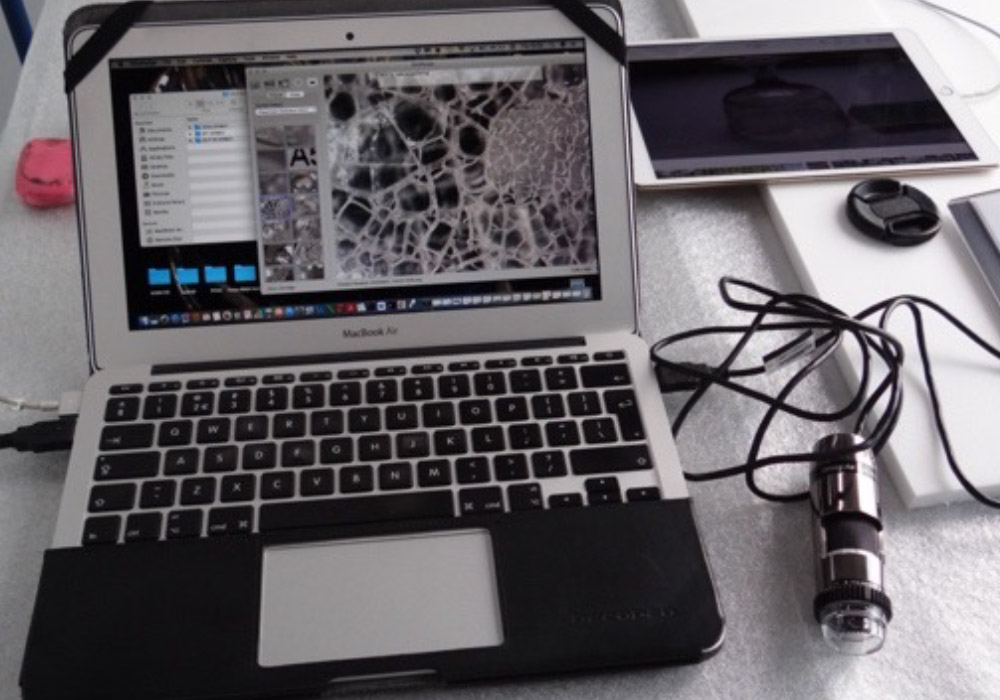
Using a handheld microscope, shown in the image, is often easier when examining glass.


light

The type of light and the angle of incidence can also determine how physical characteristics appear. The video shows that direct light reveals different aspects of the surface than raking light. The streaks/cords in the glass, the matte spots that follow the pattern of the shape, and the dust on the surface all become visible under different lighting conditions. A video can therefore be more informative than photographs or be a useful complement to them.

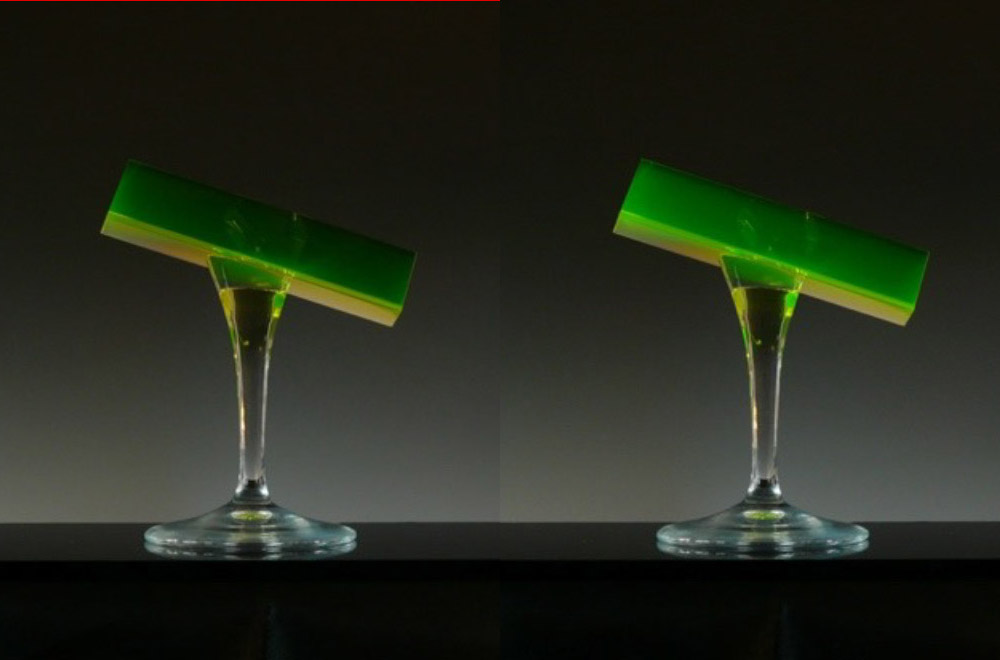
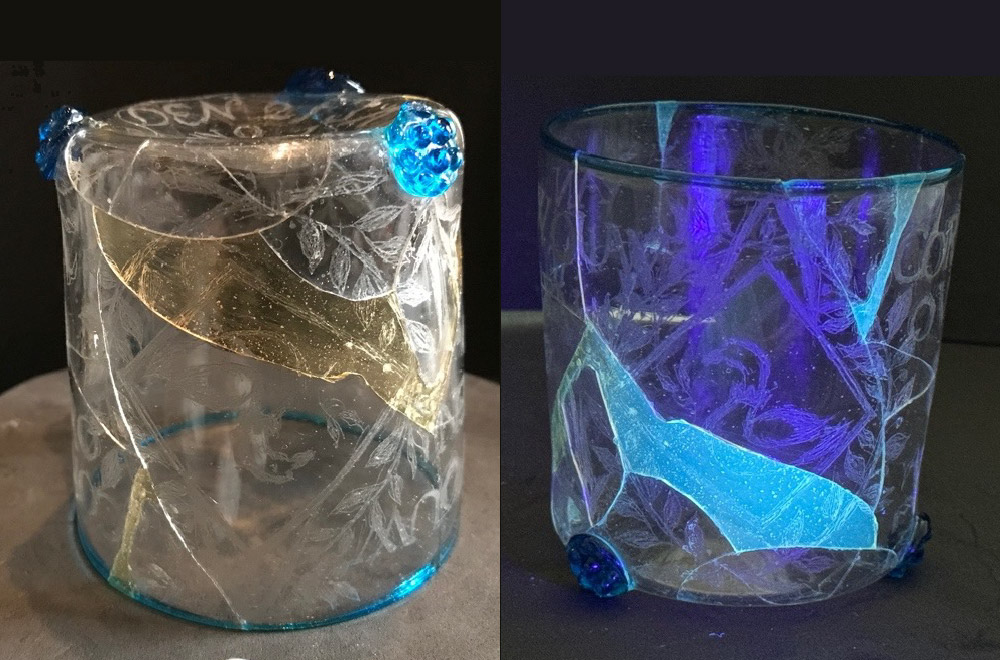
It helps to examine a glass object both lit directly and held against the light. Light can also aid identification: UV light makes uranium glass appear a vivid green, while transmitted light reveals the translucency and soft pink hue typical of opaline glass. For this reason, glass should be studied under multiple light sources, from a range of angles.


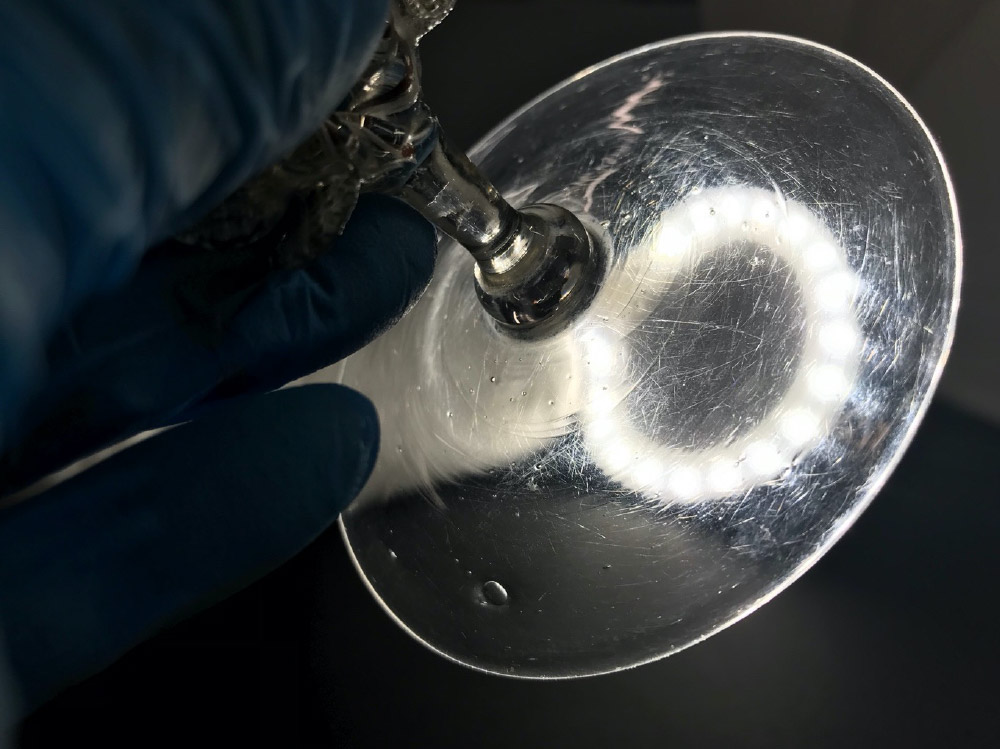
Light passing through a glass object reveals fine details.


Atomic Prism by Anna Carlgren. Glass containing uranium, without and with UV illumination. PHOTO Anna Carlgren


Identifying old adhesive joins under UV light.


photographing glass

Photographing glass, especially transparent and highly reflective glass, is difficult. Whether the aim is to capture the object itself or document a stain or scratch, obtaining a good photograph can be challenging for conservators and professional photographers alike. Glass with a matte surface is somewhat easier to photograph.

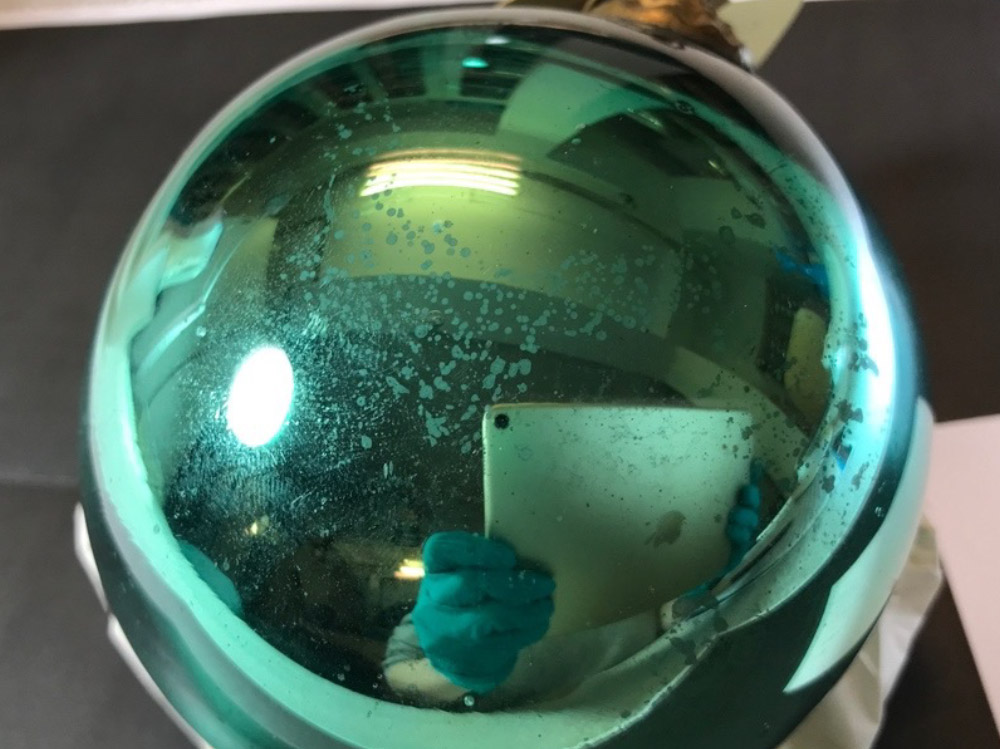
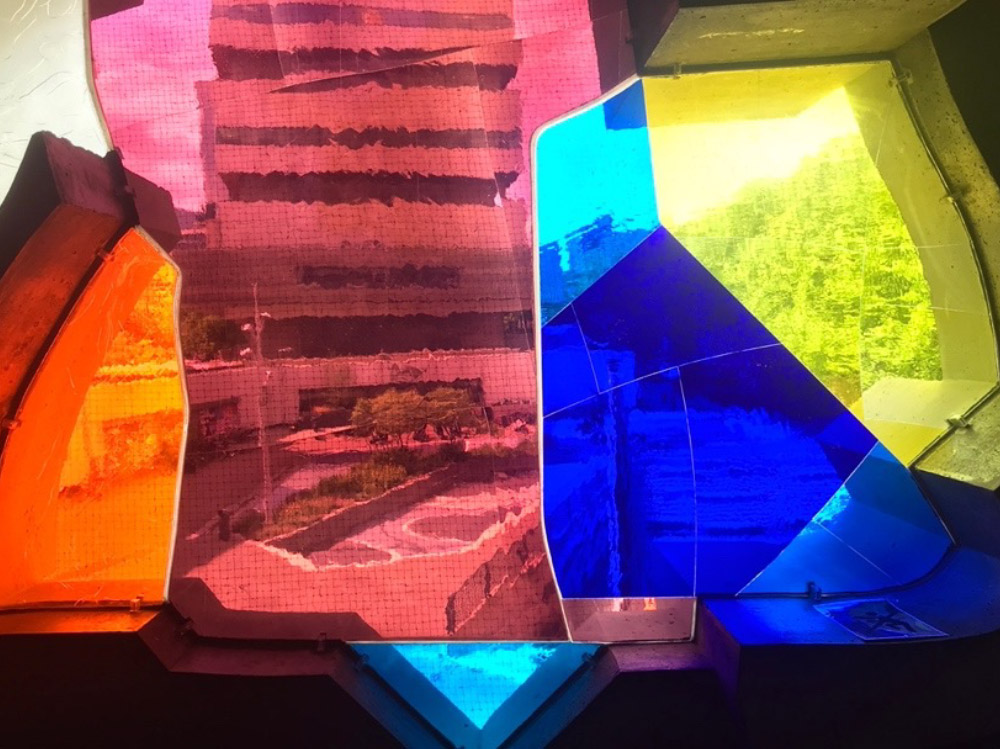
Glass reflects its surroundings, and transparent glass also reveals what lies beneath or behind it. A light source or even the photographer can easily be reflected in the glass. When photographing glass in buildings, the surroundings become part of the photo. Photographing on an overcast day or varying the angle of illumination can help.

Sometimes unusual lighting is needed to capture specific features. In such cases, the quality of the photograph is of secondary importance. Photographing details can nevertheless be challenging. The priority is to document the feature in question.

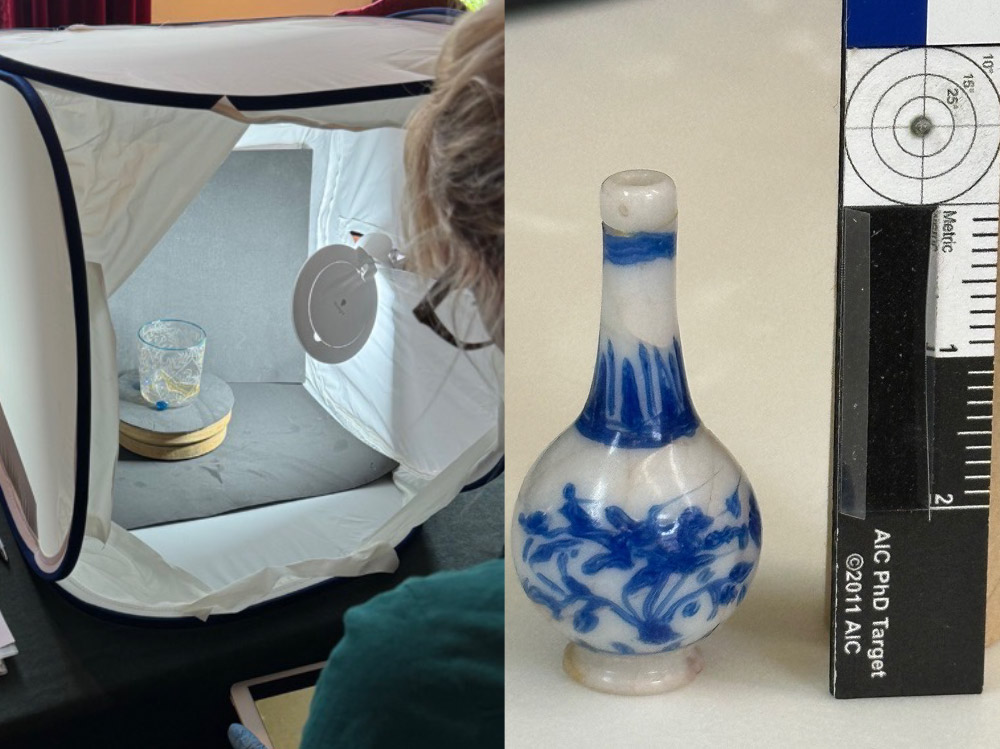
For in situ photography of small objects, a light tent can be useful, with the object placed on a turntable against a light or dark background as required. Light tents may feature built-in daylight-balanced lighting, adjustable light intensity and a small front flap through which the camera lens can be inserted to minimise reflections from the surroundings. Additional lamps can also be added to them. When documenting, it is important to record the object’s dimensions.

Using photography to monitor the condition of glass requires help from a professional photographer, with a conservator on hand to assist. When dealing with a large group of objects, the photographer can photograph a representative selection to document their condition. In the case of the Boijmans’ Glass Collection Research, the registrar or conservator took many of the photographs, alongside images made by a professional photographer.

The Cultural Heritage Agency of the Netherlands has published a dutch guidance on photographing flat glass.
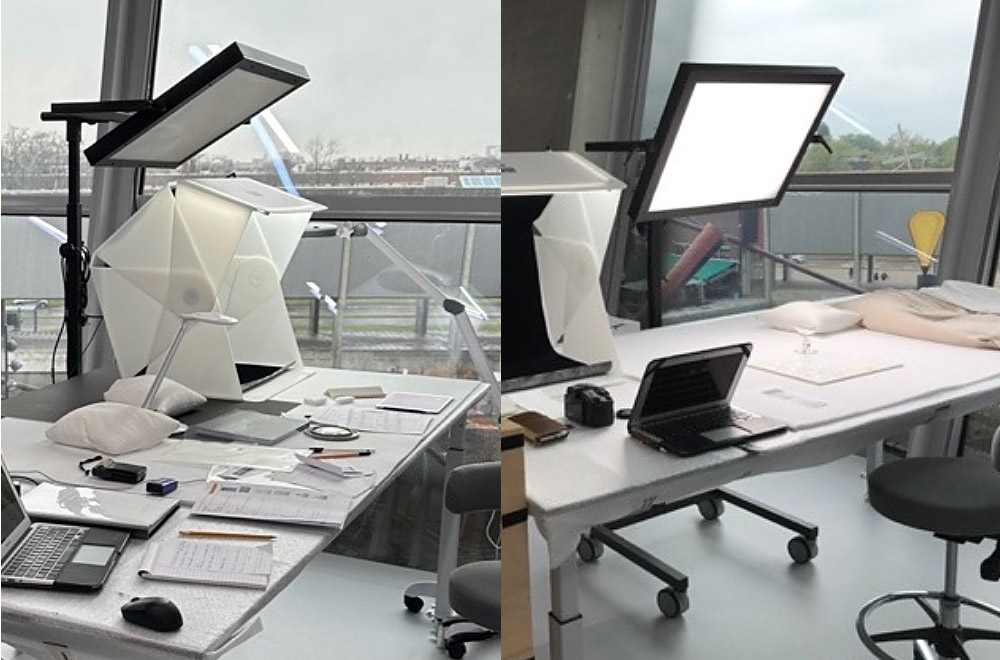
Photo of the underside of a glass object showing a reflection of the photographer and the camera model.


Glass appliqué by Karel Appel, Hofpleintheater, Rotterdam.


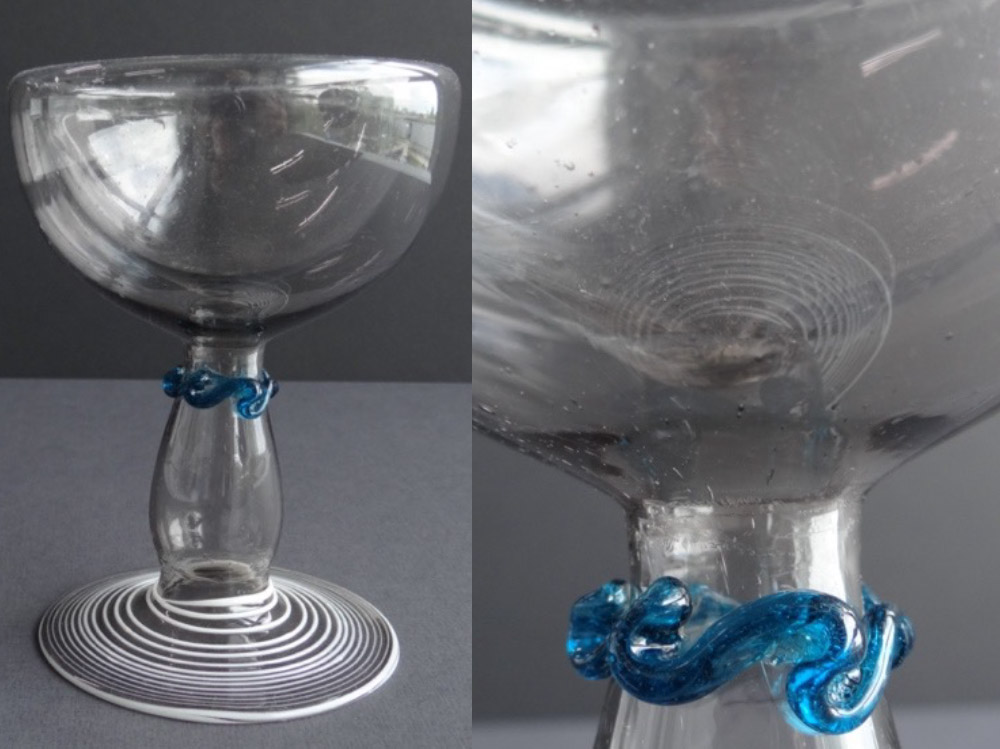
Special lighting to study patterns in the base of the object. Reflections of the surroundings and the foot are visible on its surface – these are not streaks. The double-walled construction of the glass is also visible.


LINKS light tent.   RIGHT glass object from a doll’s house.


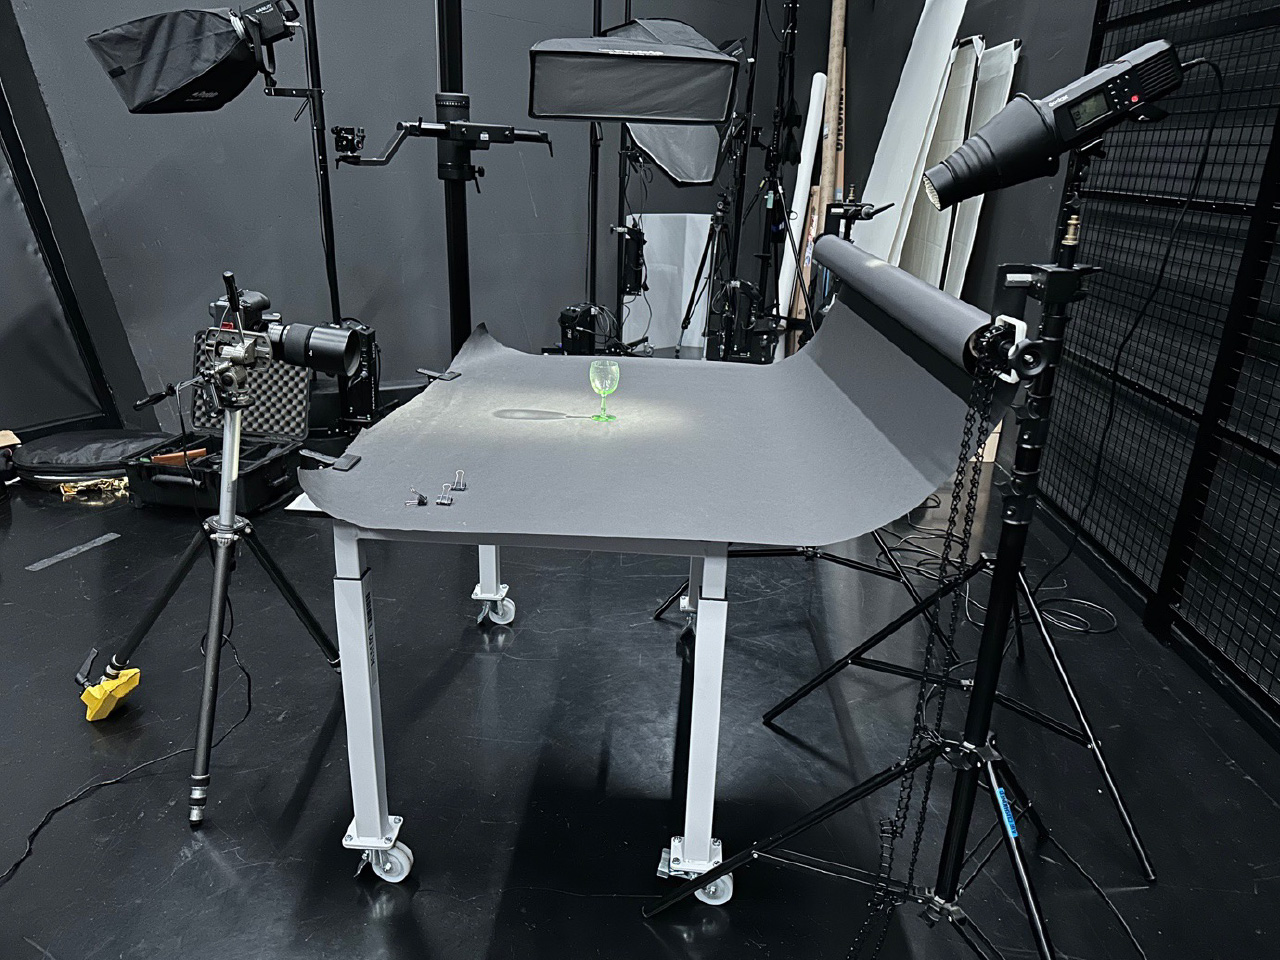
Documenting glass in the Museum Boijmans Van Beuningen photography studio.


mapping

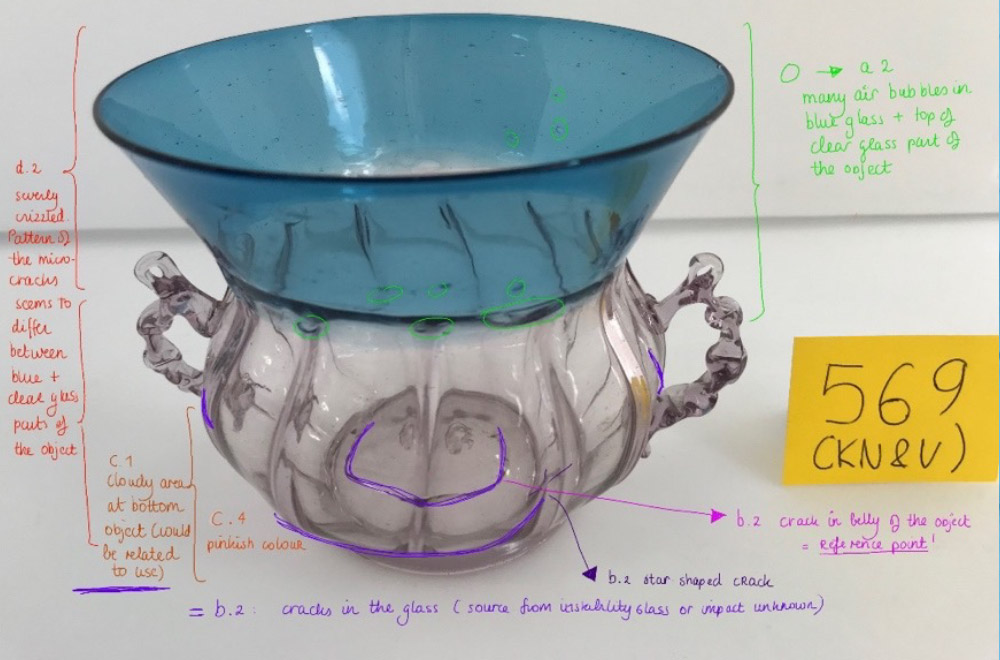
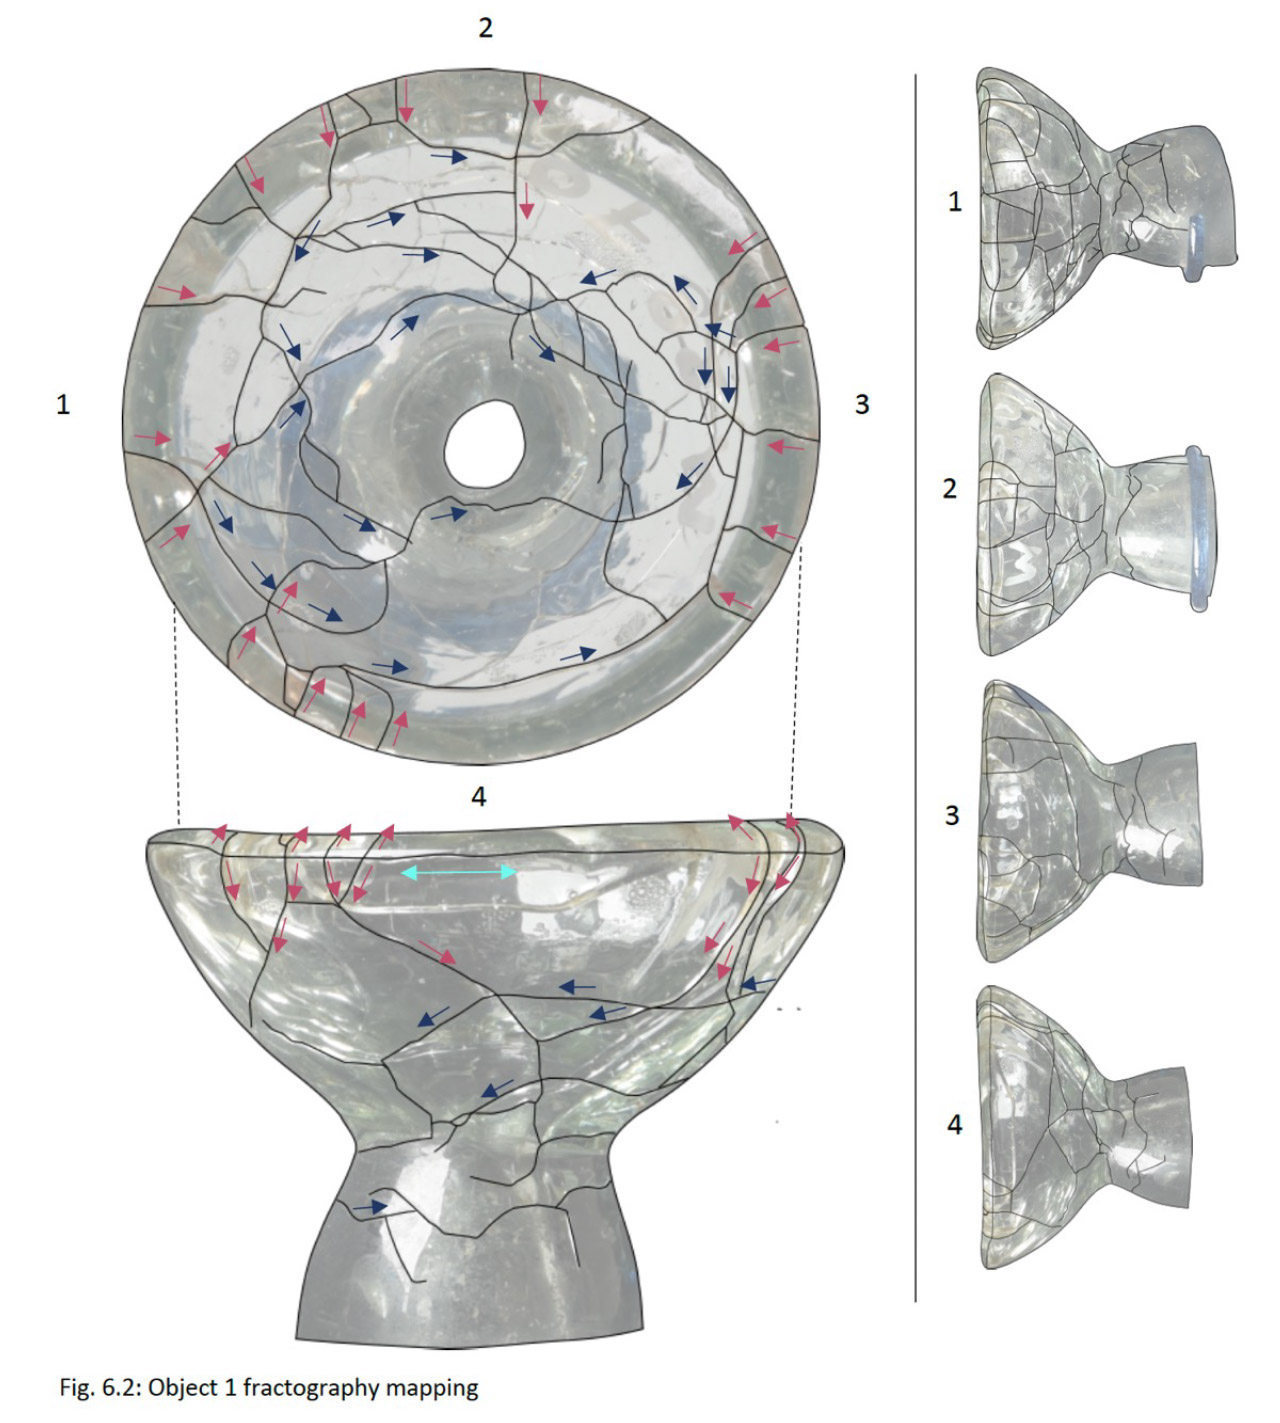
It is recommended to record the locations of findings in a standardised manner using a mapping or annotation. Digital tools that allow multiple mappings to be layered onto an image of the object make it easy to track its condition history in a single image file. Only changes in condition then need to be recorded during subsequent condition assessments. The Procreate drawing app for iPad was used to map damage to objects in the Boijmans Collection’s ‘guide collection’. Other suitable applications include Inkscape, Photoshop, Illustrator and metigo MAP. As well as recording the locations of specific findings on the object, the positions of detail photographs and microscopic images can also be noted. Documenting fracture patterns, including their course and origin, allows them to be monitored over time.


Damage mapping of object 569 (KN&V) from the Museum Boijmans Van Beuningen, following the standardisation of the General Condition Form and indicating the relevant field numbers.


Crack formation mouthpiece of Seventienth-Eighteenth Century Glass Horns © T. Costello. Zie ook conservation - research & diagnosis - vulnerabilities in glass - atmospheric degradation - misleading characteristics